
We research every product we recommend. We may earn a commission from the links on this page.
Tools & Home Improvement › Wall Lights

How Mounting Height Changes Everything About Outdoor Flood Light Brightness

We compare published specifications and marketplace data. We do not test these products.

Why Your Outdoor Wall Lights Look Dimmer Than You Expected
Photo by Brett Sayles on Pexels

A 150-watt LED flood light sounds powerful until you mount it at 25 feet and wonder why your driveway still looks dim. The problem isn’t the fixture — it’s physics. Light intensity drops with the square of the distance from the source, so doubling your mounting height cuts ground-level brightness to a quarter. Wattage tells you what goes into the fixture. Mounting height determines what reaches the ground.

Affiliate disclosure: This article contains affiliate links. We may earn a commission if you buy through them, at no extra cost to you.

Everything we recommend
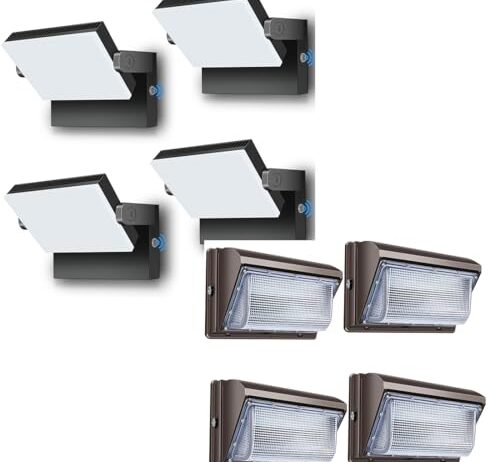
4 picks

How we picked

We do not mount these fixtures ourselves. Judgements rest on published lumen output, IP ratings, and installation pattern data from buyer reports.

Lumen output, not wattage

Documented lumen ratings determine ground-level illumination when combined with mounting height — wattage alone predicts nothing about brightness.

IP rating vs. mounting position

Ground-level fixtures require submersion protection; roofline mounts need rain resistance — matching the rating to exposure risk prevents premature failure.

Fixture count, not single power

Multiple lower-wattage fixtures at reduced heights often deliver more usable light than one high-mounted powerful unit fighting inverse-square losses.

Control type for access height

Photocell automation matters most at unreachable mounting positions — switch control works when you can reach the fixture daily without a ladder.

Why Wattage Lies and Lumens Only Half-Tell the Truth

Wattage measures electrical consumption. A 150W fixture draws 150 watts from your panel. That’s it. Two 150W fixtures from different manufacturers can produce wildly different amounts of light because LED efficacy — lumens per watt — varies with chip quality, driver design, and thermal management. A well-engineered 60W fixture can throw more usable light than a cheap 150W one running hot.

Lumens get you closer. They measure total light output from the fixture in every direction. But lumens still don’t answer the question you actually care about: how bright is the ground where I’m standing?

That answer requires lux — lumens per square meter at a specific surface. And lux depends almost entirely on two things: how far the light travels and how wide it spreads. A fixture producing 5,000 lumens mounted at 10 feet delivers concentrated, usable illumination to a driveway. The same fixture at 30 feet spreads that identical output across nine times the area. Same lumens. A ninth of the brightness where your feet are.

This is why mounting height decisions matter more than the wattage comparison you’re probably running in your head right now.

The Inverse Square Law in Your Driveway

Light follows the inverse square law. Mount a fixture at 10 feet and measure the brightness directly below it. Move it to 20 feet — same fixture, same bulb, same wattage — and the ground-level illumination drops to one-quarter. At 30 feet, one-ninth.

This isn’t a gradual fade. It’s a steep curve that punishes high mounting positions hard. The difference between 12 feet and 18 feet sounds minor — six feet — but it cuts your ground brightness nearly in half.

For security lighting, where the goal is facial recognition at 30 feet from the camera, this matters enormously. The Illuminating Engineering Society recommends a minimum of 10 lux for parking areas and 50 lux for building entrances. A fixture producing 20,000 lumens at 25 feet might hit those numbers. The same fixture at 40 feet will not, regardless of its wattage rating.

The practical consequence: before comparing fixtures by wattage or lumens, decide where you’re mounting them. A lower mount with a modest fixture routinely outperforms a high mount with a powerful one.

One High Fixture or Two Lower Ones

A single 150W fixture mounted at 25 feet on a garage peak covers a wide area — on paper. In practice, the center of the beam directly below is adequately bright, but the edges fade fast. Walk 30 feet from the fixture and you’re in a dim zone that feels darker than it is because your eyes adjusted to the bright center.

Two 60W fixtures mounted at 12 feet on opposite ends of the same garage solve this differently. Each one illuminates a smaller circle, but those circles overlap in the middle. The result is more even coverage with fewer dark spots, and the lower mounting height means each fixture delivers more ground-level lux per lumen than the single high-mounted unit.

The trade-off is real, though. Lower mounts mean more fixtures, more wiring runs, more junction boxes, and more potential points of failure. They also put fixtures within reach of ladders and thrown objects, which matters in commercial or high-traffic settings. A fixture at 25 feet is essentially tamper-proof. One at 10 feet is not.

For residential driveways and backyards, the lower-and-doubled approach almost always wins on actual illumination. For parking lots and warehouse exteriors, height provides security the light itself cannot.

What IP Ratings Actually Protect Against at Different Heights

IP65 means dust-tight and protected against water jets from any direction. IP67 adds protection against temporary submersion — up to one meter for 30 minutes. Both are standard outdoor ratings, but they interact with mounting height in ways the rating alone doesn’t communicate.

A fixture mounted at 20 feet on a wall faces rain, wind-driven debris, and UV exposure. IP65 handles all of that. The water never pools around the housing because gravity pulls it away. At that height, IP67’s submersion protection is irrelevant — the fixture will never be underwater.

Mount the same fixture at 3 feet on a bollard or post near a drainage channel, and the calculus changes. Ground-level flooding during heavy rain can submerge a low-mounted fixture for minutes. IP65 wasn’t designed for that. IP67 was.

Height also affects thermal cycling. Fixtures mounted close to sun-heated walls or pavement radiate heat less efficiently than those mounted high with air circulation on all sides. Over years, that thermal stress degrades LED chips and driver circuits faster, regardless of IP rating. The waterproofing keeps moisture out; it doesn’t manage heat.

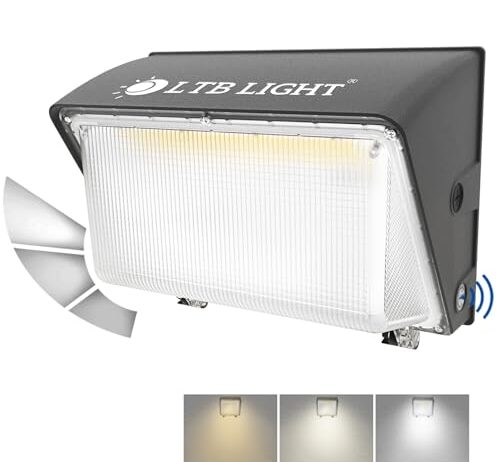
The LTBLIGHT 150W produces 20,010 lumens. That number matters because it lets you do the math before you commit to a mounting height. At 15 feet with a typical 120-degree beam angle, you’re looking at roughly 50 lux across a 25-foot circle — adequate for a residential driveway. Push it to 25 feet and that drops below 20 lux, which is dim enough that a security camera will struggle with facial detail at night.

Switchable color temperature adds a variable most flood lights lock you out of. At 5000K, you get a daylight-white output that maximizes perceived brightness — the blue-spectrum content triggers a stronger response in human photopic vision. Drop to 3000K for warm white, and the same lumen output looks noticeably dimmer to your eye, though a light meter reads the same number. For security, 5000K is the better choice. For a backyard patio where the goal is ambiance rather than deterrence, 3000K avoids that institutional glare.

Dusk-to-dawn photocell control activates the fixture automatically based on ambient light levels, typically triggering between 2 and 10 lux. Where you mount the fixture affects sensor reliability — if the photocell faces another light source, like a streetlight or a neighbor’s porch light, it may cycle on and off erratically or fail to activate at all. Wall-mounting the fixture where the sensor faces open sky, away from other artificial light, avoids the problem entirely.

Multi-Pack Economics and Mounting Height Strategy

Buying an 8-pack or 5-pack of flood lights only makes financial sense if you’ve already decided on a multi-fixture, lower-mounting-height strategy. Eight fixtures at $75 each totals $600 — a serious commitment that assumes you have eight mounting locations planned, wired, and ready.

The per-unit cost drops significantly in bulk. A single 150W fixture runs $100. Five of them as singles would cost $500. In a 5-pack, the per-unit cost drops to about $70. The 8-pack pushes per-unit price to $75 with the convenience of uniform fixtures across a property.

But there’s a planning trap. Buying eight identical 150W fixtures makes sense for a commercial building with a consistent roofline height. For a residential property where mounting heights vary — 10 feet on the garage, 15 feet on the house wall, 8 feet on a fence-mounted post — identical wattage at different heights produces visibly uneven brightness. The garage-mounted fixture blazes while the house-wall fixture looks adequate, and the same fixture on the fence post creates a blinding hot spot.

Matching fixtures to mounting height means mixing wattages: lower output for low mounts, higher output for high mounts. That argues against multi-packs of identical units and toward individual fixtures selected for each position.

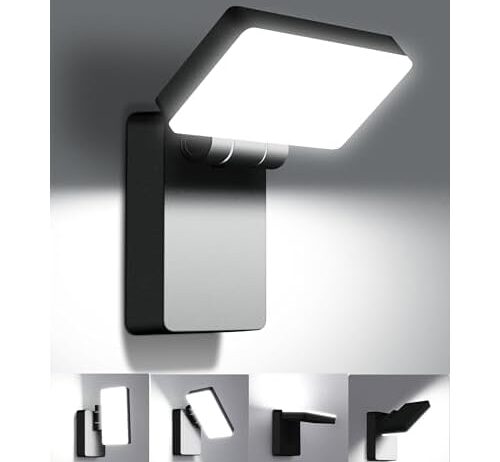
The BIRITALO 60W produces 5,000 lumens at an efficacy of about 83 lumens per watt — reasonable for the price point. At 60 watts, it draws less than half the power of the 150W fixtures, which matters if you’re running multiple units on the same circuit or if your outdoor wiring uses a lower-amperage breaker.

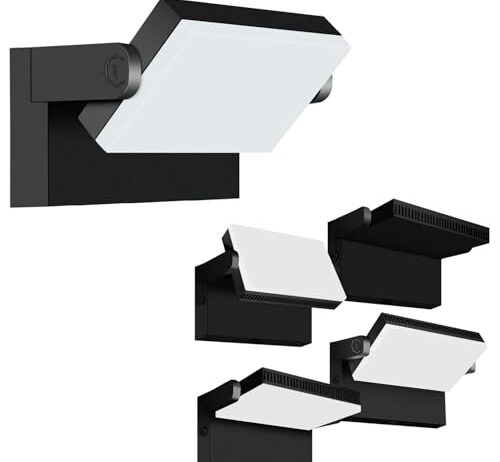
The 360-degree rotatable mount is the real differentiator for installation planning. Most wall-mount flood lights fix the beam angle at installation — you set it, tighten the bolts, and live with the result. Full rotation lets you test different aim points after mounting: straight down for maximum intensity in a small area, angled out for broader coverage at lower peak brightness, or swept along a fence line for perimeter lighting. You can adjust seasonally as foliage changes shadow patterns, or redirect when you add a garden structure that creates new dark zones.

At 5,000 lumens, this fixture works best mounted between 8 and 14 feet. Below 8 feet, the output creates uncomfortable glare for anyone walking through the beam. Above 14 feet, the inverse square law thins the output to the point where a brighter fixture would serve better. That 8-to-14-foot window happens to match most residential garage-side and fence-top mounting heights, which is where a rotatable head pays off most — small changes in aim make large differences in where the light actually falls at close range.

Photocell vs. Switch Control and Where You Mount

Photocell dusk-to-dawn fixtures activate automatically when ambient light drops below a threshold. Switch-controlled fixtures stay off until you flip a switch or wire them to a timer or motion sensor. The choice interacts with mounting height more than you’d expect.

A photocell sensor sits on the fixture housing, usually on top or on the side facing away from the light output. At a 20-foot mounting height, the sensor reads open-sky ambient light accurately — no interference from the fixture’s own output bouncing off nearby surfaces. Mount the same fixture at 8 feet next to a white stucco wall, and reflected light from the fixture can reach the sensor, creating a feedback loop: light turns on, reflection tricks sensor into thinking it’s daytime, light turns off, sensor reads darkness, light turns on again. The result is rapid cycling that’s visible as flickering and shortens driver life.

Switch control avoids this entirely but requires manual operation or integration with a separate timer or smart home system. For fixtures mounted low on posts or walls where photocell interference is likely, switch control is the more reliable choice. For high-mounted fixtures with clear sensor exposure to the sky, photocell automation works as designed and eliminates the daily on-off routine.

Matching Fixture to Height: A Decision Framework

Start with your mounting location, not the fixture catalog.

Measure the height. Sketch the area you need lit and estimate the distance from the fixture to the farthest edge of that area. Multiply the height by 1.5 — that gives you a rough maximum effective radius for a standard 120-degree beam flood light. If your target area extends beyond that radius, you need a second fixture, a lower mounting height, or a higher-lumen unit.

For heights under 12 feet: a 60W fixture in the 5,000-lumen range provides adequate residential security lighting across a 15-foot radius. Higher wattage at this height wastes energy and creates glare. The fixture is close enough that modest output hits the ground hard.

For heights between 12 and 20 feet: 150W territory. You need the extra lumens to compensate for the distance. A fixture producing 15,000 to 20,000 lumens at this range covers a driveway-width area with enough intensity for camera-compatible security lighting.

Above 20 feet: commercial-grade territory. Residential flood lights in the 150W range struggle to deliver adequate ground-level brightness from this height. You’re looking at 300W+ fixtures or pole-mounted area lights designed for parking lot applications — a different product category entirely.

Color temperature at 5000K maximizes perceived brightness at any height. The higher blue content in daylight white light triggers stronger photopic response in the human eye, making the same lumen output appear brighter than a 3000K warm white source. For security applications, 5000K is the default choice. Reserve warm white for architectural accent lighting where atmosphere matters more than visibility.

FAQ

How high should I mount outdoor flood lights for driveway security?

Between 12 and 18 feet for most residential driveways. Below 12 feet, the coverage radius shrinks and the fixture may cause glare at eye level. Above 18 feet, the inverse square law reduces ground-level brightness significantly — you’ll need a higher-lumen fixture or a second unit to compensate.

Does a 150W LED flood light give enough brightness at 25 feet?

It depends on lumen output, not wattage. A 150W fixture producing 20,000 lumens at 25 feet delivers roughly 15-20 lux directly below with a wide beam — adequate for a parking area but marginal for entrance lighting where 50 lux is the standard target. A fixture with lower lumen output at the same wattage will fall short.

Is it better to use one bright flood light or two dimmer ones?

Two lower-mounted fixtures almost always produce more even ground coverage than one high-mounted unit. The lower height means less distance for the light to travel, so each fixture delivers more lux per lumen. The overlap between the two beams eliminates the dark zones that a single fixture creates at its beam edges.

Do lumens matter more than wattage for outdoor flood lights?

Lumens matter far more. Wattage measures power consumption, not light output. LED efficacy varies widely — a 60W fixture producing 5,000 lumens at 83 lumens per watt is reasonably efficient, while a 150W fixture would need to produce at least 12,500 lumens just to match that ratio. Always compare lumens, not watts.

What’s the minimum mounting height for an IP65 flood light?

There’s no minimum for waterproofing purposes — IP65 handles rain and hose spray at any height. The practical minimum is about 8 feet to avoid blinding glare at standing eye level. Below that, angle the fixture downward sharply or use a lower-output unit. IP67 becomes relevant only when the mounting position risks temporary submersion from flooding or pooling water.