We research every product we recommend. We may earn a commission from the links on this page.
Tools & Home Improvement › LED Strip Lights

LED Strip Voltage Drop: Why the Far End Goes Dim and How to Fix It

We compare published specifications and marketplace data. We do not test these products.

LED Strips Lose Brightness as Voltage Drops Along the Copper
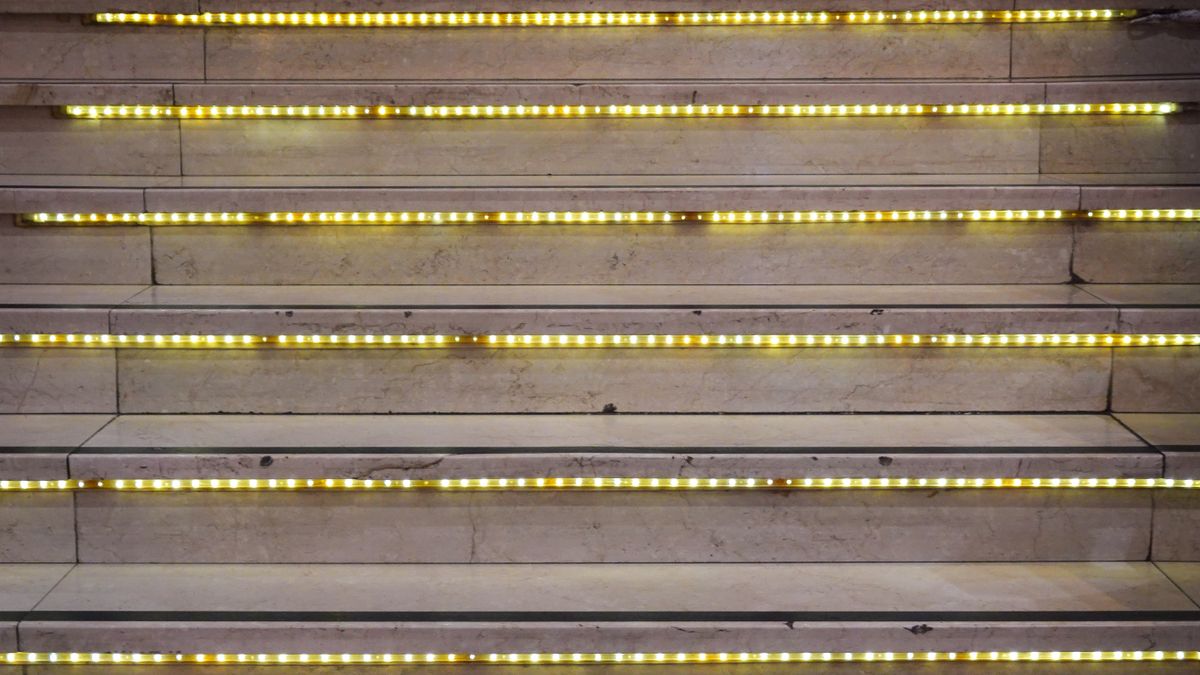
Photo by Magda Ehlers on Pexels

A sixteen-foot LED strip pulling three amps can lose half a volt between the plug and the far end. That sounds small until you realize it translates to fifteen or twenty percent less light from the last few feet. The problem isn’t the LEDs — it’s the copper traces carrying power to them. Here’s how voltage drop works in LED strips, when it becomes visible, and which designs sidestep it entirely.

Affiliate disclosure: This article contains affiliate links. We may earn a commission if you buy through them, at no extra cost to you.

Everything we recommend

4 picks

How we picked

We do not install these strips. Judgments rest on driver specifications, trace dimensions, and observed brightness variation in marketplace reports.

Current regulation, not LED count

Strips with distributed regulation maintain consistent brightness regardless of run length. Simple series wiring amplifies drop.

Trace thickness, not housing width

Wider copper cross-section carries more current at lower resistance. The visible strip width means nothing for voltage stability.

Independent feeds, not shared rails

Each segment drawing from its own power input eliminates cumulative voltage loss across the installation.

Stated wattage per meter, not total output

Higher density LEDs demand more current through the same trace. Power density predicts where drop becomes visible.

Copper Traces Are Just Wires — Thin Ones

Inside every flexible LED strip is a printed circuit board about ten millimeters wide. Running along it are copper traces — flat conductors etched onto the board that carry twelve or twenty-four volts from the power connector to each LED cluster along the length. These traces are thin. Typically one to two ounces of copper per square foot, which works out to around thirty-five microns thick for a one-ounce trace.

That thinness matters.

Copper has an electrical resistivity of 1.68 × 10⁻⁸ ohm-meters at room temperature. A wider, thicker conductor has less resistance per foot. A narrow trace on a flexible PCB has more. And resistance is what turns voltage into heat instead of light. The formula is simple: voltage lost equals current times resistance. Three amps through 0.17 ohms of cumulative trace resistance produces a 0.51-volt drop. On a twelve-volt system, that’s over four percent of your supply voltage gone before it reaches the last LED.

Four percent of voltage doesn’t sound like much. But LEDs don’t dim linearly with voltage. They’re current-driven devices — their brightness depends on forward current, which drops off faster than voltage does once you get below the optimal operating point. A four-percent voltage reduction can produce a fifteen to twenty-five percent brightness reduction at the far end of the strip.

Why Colors Shift Before Brightness Does

If you’re running white LEDs, voltage drop shows up as dimming and you notice it eventually. With RGB strips, it shows up as a color shift, and you notice it immediately.

Each color in an RGB LED has a different forward voltage requirement. Red runs lowest — around 1.8 to 2.2 volts. Green and blue both need 3.0 to 3.5 volts. When voltage drops at the far end of a strip, all three colors lose some brightness, but red loses proportionally less because it needs less voltage to begin with. The result: your white turns warm. Your cyan leans green. Your purple goes pink.

This is why two people can argue about whether the far end of a strip is dimmer or just the wrong color. It’s both, but the color change is perceptible at shorter distances than the brightness change because your eye is better at detecting hue shifts than luminance gradients.

How Long Is Too Long?

There’s no universal answer, because it depends on the strip’s current draw, trace width, and supply voltage. But the practical threshold where most people notice something is wrong sits around twelve to sixteen feet on a twelve-volt strip at full brightness.

A twenty-four-volt strip buys you distance. The same half-volt drop is now just over two percent of the supply instead of four percent, so you can run roughly twice the length before the dimming becomes visible. That’s the main reason serious installations use twenty-four-volt strips — not because the LEDs are brighter, but because the math works better over distance.

At six or seven feet, voltage drop is rarely visible to the eye regardless of supply voltage. The cumulative resistance is simply too low to matter. At twenty-five feet on a twelve-volt strip, it’s almost certainly visible, and you need to do something about it.

This bundle pairs a 16.4-foot MagicColor strip with a 9.84-foot rope light — over twenty-six feet of combined length. On a conventional single-feed RGB strip, that distance would guarantee visible dimming at the far end. The IC insert changes the equation. Each segment gets independent control, which means the controller IC at each zone regulates current locally rather than relying on voltage arriving intact from a connector twenty feet away.

The trade-off is cost. At $69.98, you’re paying for that distributed intelligence. A plain RGB strip of similar length runs a third of the price, but you’d need to add your own power injection wiring to get even brightness — and most buyers don’t know that until after installation.

Three Ways Strips Solve Voltage Drop (and One Way They Don’t)

The simplest fix is also the one no strip manufacturer does for you: power injection. You solder or clip additional power supply wires to the strip at one or two midpoints, so current enters from multiple places instead of flowing the entire length from one end. This halves or thirds the maximum trace distance any LED sits from a power source, cutting the worst-case drop proportionally. It works, but it requires wire, a soldering iron, and the confidence to modify what you just bought.

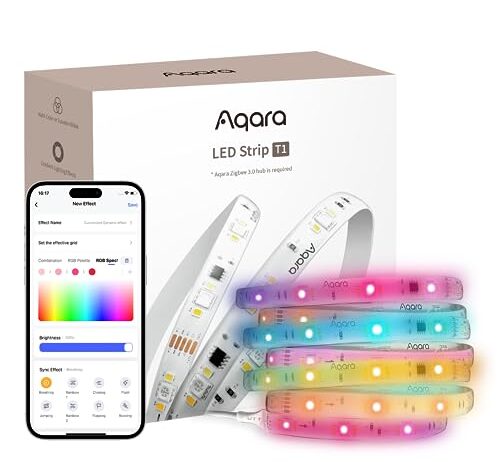
The second approach is RGBIC architecture. Instead of one controller at the input end driving every LED, RGBIC strips place controller ICs at intervals along the strip. Each IC drives a short zone — typically three to six LEDs — and regulates current within that zone independently. Voltage may still drop along the main power bus, but each local IC compensates within its segment. The practical result is consistent brightness and color from end to end, even on longer runs.

The third is to abandon the strip form factor entirely. Rigid light bars with individual power connections treat each fixture as its own circuit. There’s no series copper trace to accumulate resistance across because each bar starts fresh from the supply. You lose the flexibility to route around corners and curve along shelves, but you gain guaranteed consistency.

The approach that doesn’t work: buying a higher-wattage power supply. If your strip dims at the far end, a bigger adapter won’t help. The bottleneck is trace resistance, not supply capacity. More available current at the input just means more current flowing through the same resistance, which means more heat in the traces and the same percentage drop at the end.

Cutting a Strip Doesn’t Fix Voltage Drop — But It Doesn’t Hurt Either

Cuttable strips have designated cut lines, usually every three LEDs, marked with a scissor icon or a copper pad. Cutting at those points gives you a shorter strip that works independently. Since it’s shorter, voltage drop is reduced — but only because you’ve reduced the length, not because cutting did anything electrically clever.

The more useful question is whether cut segments can be reconnected. Some strips offer solder pads or snap connectors at cut points. If you can reconnect a cut segment with its own power feed, you’ve effectively created a power injection point — a real fix. If cutting is one-way and the leftover piece goes in a drawer, you’ve just bought an expensive strip and used half of it.

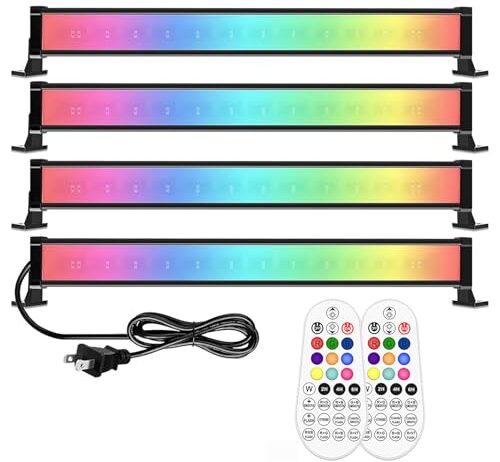
The MEIKEE wall wash bars sidestep the voltage drop conversation entirely by not being strips. Each rigid bar is a self-contained unit drawing 25 watts through its own power connection. There’s no fifteen-foot copper trace accumulating resistance because there’s no fifteen-foot copper trace at all. The fourth bar gets exactly the same voltage as the first.

IP66 waterproofing makes these viable for permanent outdoor installation — eaves, fence lines, landscape walls — where moisture would eventually corrode the exposed copper pads on a flexible strip and increase resistance over time. RGBW capability adds a dedicated white channel, which produces cleaner whites than mixing red, green, and blue together. The trade-off is rigidity. You’re mounting four fixed bars, not routing a flexible strip around shelf edges or behind a desk. These are for washing a surface with color, not for accent lighting in tight spaces.

What Wire Gauge to Use When You Add Power

If you’re injecting power at the midpoint or far end of a strip, the wire connecting your supply to that injection point has its own resistance. Use wire that’s too thin and you’ve just moved the bottleneck from the PCB trace to your extension cable.

For runs under ten feet at three amps or less, 20 AWG wire is adequate. For longer runs or higher-draw strips, step up to 18 or 16 AWG. The goal is to keep the total voltage drop in the injection wire below 0.1 volts — negligible compared to the drop you’re trying to fix on the strip itself.

A common mistake is using the thin wire that ships with the strip’s power adapter as an extension cord. That wire is sized for the short distance between the adapter and the strip’s input connector, not for a six-foot run across a ceiling to a midpoint tap. Use dedicated hookup wire in the right gauge, and keep the run as short as possible.

Matching the Fix to the Installation

A six-foot strip under a kitchen cabinet doesn’t need power injection, RGBIC, or rigid bars. At that length, voltage drop is invisible. Buy whatever fits the space and the smart-home ecosystem you’re already using.

A sixteen-foot run along a bedroom ceiling is the threshold zone. You might not notice dimming at low brightness or warm whites, but full-brightness blue will show color shift at the far end. RGBIC architecture handles this without any wiring work on your part. A basic RGB strip handles it too — if you’re willing to solder a power tap at the midpoint.

Beyond twenty feet, plan for power injection or use a segmented system. A single-feed strip at that length is going to dim, and no amount of hoping or brighter power supplies changes the physics.

Outdoors, moisture and temperature cycling add a long-term dimension. Copper corrodes. Solder joints fatigue from thermal expansion. A sealed rigid fixture with its own power input ages better than a flexible strip held up by adhesive tape, even if the strip was bright and even on day one.

FAQ

Why do the LEDs at the end of my strip look dimmer than the ones near the plug?

Copper traces on the strip’s circuit board have electrical resistance. As current flows from the power input toward the far end, voltage drops along the way. LEDs need a minimum voltage to produce full brightness, so the ones farthest from the input get less voltage and produce less light. On a sixteen-foot twelve-volt strip, this can mean fifteen to twenty-five percent dimming at the far end.

How long can an LED strip be before I need to add power at both ends?

On a twelve-volt strip, visible dimming typically starts between twelve and sixteen feet at full brightness. Twenty-four-volt strips can run roughly twice that distance before the drop becomes noticeable. If your run is longer than sixteen feet on twelve volts, inject power at the midpoint or far end to keep brightness even.

What’s the difference between RGB and RGBIC LED strips?

RGB strips have one controller at the input end that sets every LED to the same color. RGBIC strips place controller ICs at intervals along the strip, so each zone can display a different color independently. The per-zone control also helps with voltage drop — each IC regulates its own segment’s current, keeping brightness consistent even on longer runs.

Can I cut an LED strip to fit my space without breaking it?

Most strips have marked cut lines every three LEDs. Cutting at those lines gives you a shorter working strip. The leftover piece may or may not be usable depending on whether the strip has solder pads or connectors at the cut point. Cutting makes the remaining strip shorter, which naturally reduces voltage drop, but that’s a side effect of length — not a feature of cutting itself.

Will a bigger power supply fix the dimming at the far end?

No. The dimming is caused by resistance in the copper traces on the strip, not by an undersized power supply. A larger adapter provides more available current at the input, but the voltage still drops across the same resistance over the same distance. The fix is power injection — adding supply connections at additional points along the strip — not more power at the existing single input.

Why do the colors look different at opposite ends of my strip?

Red, green, and blue LEDs each require different forward voltages. Red needs the least — around two volts — while green and blue need over three. When voltage drops at the far end, all three lose some output, but red loses proportionally less. This shifts the color balance: whites go warm, blues lean purple, and cyans shift green.