We research every product we recommend. We may earn a commission from the links on this page.
Tools & Home Improvement › Wall Stickers & Murals

Why Peel-and-Stick Tiles Detach from the Top Edge First

We compare published specifications and marketplace data. We do not test these products.

Peel-and-Stick Tile Adhesive Creeps Downward on Vertical Surfaces
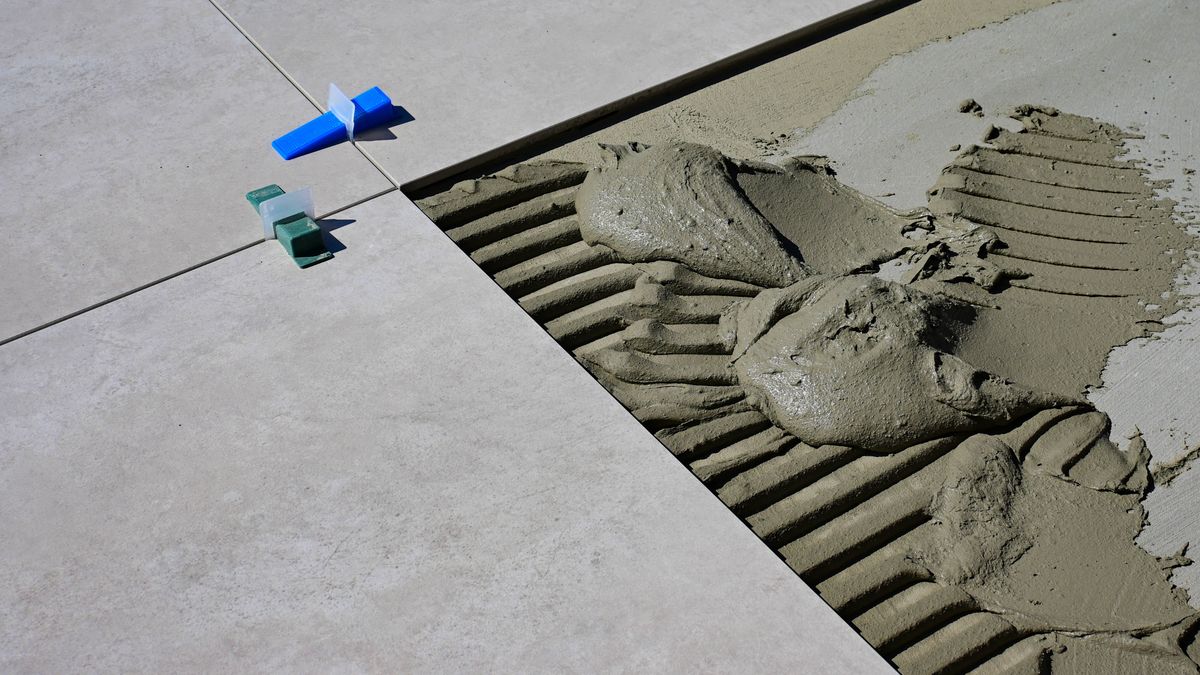
Photo by Vladimir Srajber on Pexels

Peel-and-stick backsplash tiles almost always come loose from the top edge first. That’s not random — it’s the predictable result of gravity pulling on a polymer adhesive that slowly flows under constant load. The adhesive at the top of a 12-inch tile bears the most sustained shear stress, and over weeks or months it thins until the bond fails. Understanding that single mechanism changes how you choose tiles, prep your walls, and decide whether the adhesive alone is enough.

Affiliate disclosure: This article contains affiliate links. We may earn a commission if you buy through them, at no extra cost to you.

Everything we recommend
3 picks

How we picked

We did not install these tiles on a wall. Selections are based on published specifications, adhesive mechanics, and owner-reported outcomes.

Bond area per unit weight, not just size

A tile’s shear stress depends on how much adhesive carries how much mass. More area per gram means slower creep.

Substrate thickness, not just pattern

A stiffer carrier spreads load across the adhesive layer instead of concentrating it at contact peaks on textured walls.

Environment match, not universal claims

Kitchen heat and bathroom humidity accelerate adhesive flow. Products targeting those rooms need to survive both.

Owner failure patterns, not star counts

Where and when tiles detach tells you more than aggregate ratings. Top-edge failure in warm rooms confirms the creep mechanism.

Gravity Doesn’t Pull Evenly on a Tile

A 12-by-12-inch peel-and-stick tile weighs enough — usually a few ounces — that the adhesive layer behind it is under constant downward shear from the moment it goes up. That shear is not distributed evenly. The top edge of the tile bears the highest sustained stress because the entire weight below it hangs from that strip of adhesive. The bottom edge, pressed into the wall by the tile’s own weight, is actually under compression. The middle transitions between the two.

This is why tiles don’t just fall off all at once. The top peels first. Then the failure front creeps downward as the remaining adhesive takes on more load per square inch than it was designed for. One owner of STICKGOO subway tiles described having one chance to get placement right — pull a tile off and it won’t stick again, because the adhesive has already deformed and the bond geometry is gone.

That deformation is called viscoelastic creep. The adhesive is a polymer layer that behaves partly like a liquid and partly like a solid. Under brief pressure — the moment you press it onto the wall — the elastic side dominates and the bond forms fast. Under sustained load — the next six months of gravity — the viscous side takes over. Polymer chains slide past each other in the direction of stress, and the adhesive literally migrates from the top of the tile toward the bottom. The bond area at the top thins. Eventually it reaches zero.

Heat and Humidity Make the Clock Run Faster

Polymer creep follows a rule called time-temperature superposition: raise the temperature by roughly 10°C and the creep rate can double. A tile on an exterior-facing wall in summer, or above a stove, or in a bathroom where a hot shower raises the ambient temperature every morning, is failing faster than the same tile in a hallway.

Humidity compounds the problem through a different path. Water molecules diffuse between polymer chains in the adhesive, acting as a plasticizer — they reduce the internal friction that was slowing the chains from sliding. In a kitchen backsplash behind a sink, the adhesive is dealing with both heat from cooking and moisture from steam and splashing. Each one alone accelerates creep. Together they can cut the useful life of a peel-and-stick bond dramatically.

This is the core tension for any tile marketed for kitchen or bathroom use. The rooms where peel-and-stick is most appealing — because tearing out real tile is expensive and messy — are exactly the rooms where adhesive bonds degrade fastest.

What Your Wall Is Wearing Matters More Than What’s on the Tile

Pressure-sensitive adhesives bond through van der Waals forces and mechanical interlocking with surface irregularities. Both require intimate molecular contact between the adhesive and the wall. Anything that prevents that contact — dust, oils, paint additives, or a textured surface with peaks the adhesive can’t flow into — creates microscopic voids under the bond. Those voids concentrate stress and become the initiation points for debonding.

Low-surface-energy paints are a common culprit. Paints with silicone or fluoropolymer additives resist wetting by the adhesive the same way a nonstick pan resists wetting by oil. The adhesive sits on the peaks of the paint texture without flowing into the valleys, leaving a bond that looks complete from the outside but is riddled with unbonded patches.

Freshly cured paint is another trap. Most latex paints take 30 days to fully cure, and the outgassing during that period can create a weak boundary layer between the adhesive and the paint film. Owners frequently report tiles failing on recently painted walls and assume the tile is defective. The tile is fine. The wall wasn’t ready.

The fix is boring: clean with isopropyl alcohol (not household cleaners, which leave surfactant residue), let the wall dry completely, and wait a full month after painting. No product can overcome a contaminated substrate.

Sixty Small Stickers vs. Five Large Tiles: A Different Failure Math

The three products in this comparison span a tenfold range in unit size, and that changes the adhesive physics fundamentally.

Sixty small 3D stickers — each weighing a fraction of an ounce — put almost no shear stress on their individual bond sites. The creep clock is running, but so slowly it may never matter in a decorative application. If one sticker fails, you’ve lost one sticker. The other fifty-nine are independent bonds with no mechanical connection to the failed one.

A 12-by-12-inch tile is a single bond carrying a single load. If the top edge creeps far enough, the whole tile comes down. There is no partial failure — it’s binary. And because the tile is one continuous sheet, any defect in wall prep under any part of it can propagate stress to the rest of the bond.

This is not a quality difference. It’s a geometry difference. Small, light units are inherently more forgiving of imperfect installation because each one carries so little load that the adhesive never enters the creep regime where failure compounds. Large tiles demand more from the adhesive per square inch, and they punish mistakes in wall prep with total detachment instead of a single lost piece.

These are waterproof wall decals — sixty separate pieces with individual adhesive dots on the back. One owner described the sticky circles as easy to use: peel, press to the heart, press to the wall. That simplicity is the product’s real advantage, because each sticker is so light that the adhesive never enters the sustained-load regime where creep matters.

The silver finish is high gloss, not matte — one owner noted they’re very obviously plastic up close, with a two-tone pink and red coloring underneath the silver that looks different from the product images. They’re durable enough to peel off and reposition, which tells you the adhesive is low-tack by design. On a vertical wall, that’s fine. The sticker weighs almost nothing. A repositionable adhesive that holds a fraction of an ounce is not fighting the same battle as one holding a 12-inch vinyl sheet.

Thickness Claims Without Numbers

Substrate rigidity is a real factor in adhesive longevity. A thicker, stiffer carrier does two useful things: it bridges over surface texture instead of conforming to every peak and valley, and it distributes the tile’s weight more evenly across the adhesive layer instead of concentrating it at contact points. Both reduce the peak stress that drives creep.

A thin, flexible vinyl sheet does the opposite. It conforms beautifully to the wall — which looks great — but that conformance means the adhesive contacts only the high points of the wall texture. The tile’s weight loads those contact points disproportionately, and creep starts at those stress concentrations first.

The practical question is how much thickness matters, and that’s where claims without numbers become frustrating. A tile described as having a thicker design tells you the manufacturer thinks rigidity is a selling point, which is correct in principle. But without a measurement — thicker than what? — you can’t compare it to anything or calculate whether the added stiffness meaningfully changes the stress distribution.

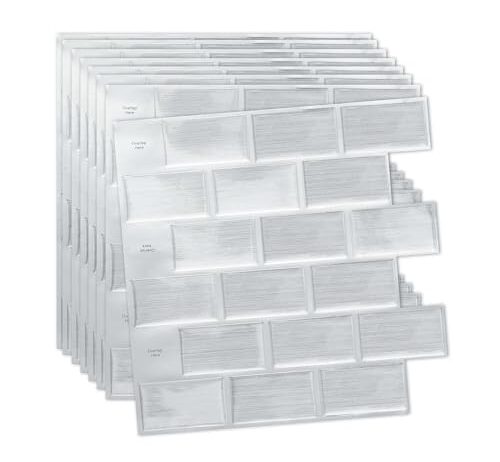
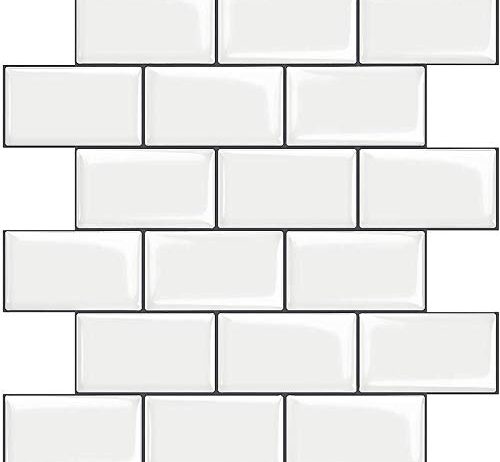
STICKGOO’s subway tile pattern covers five square feet across five sheets. The warm white with grey grout lines run in one direction only — which matters for cutting, because you can’t flip a trimmed piece upside down and use the offcut. One experienced DIYer who installs these noted that without prior tile-cutting knowledge, you’d waste significant material on cuts.

That same owner made a critical observation: you get one chance to place these. Pull one off the wall and it won’t re-stick. This is consistent with a higher-tack adhesive formulation — stronger initial bond, no repositioning window. For a backsplash tile that needs to resist sustained load in a kitchen environment, that trade-off makes mechanical sense. A repositionable adhesive sacrifices initial bond strength for convenience, and in a humid, warm environment the lower tack accelerates the timeline to failure.

The grout color runs darker than described — one owner expected dark grey and got what they called black. The front surface has a protective film that isn’t mentioned in the instructions and feels sticky once removed. Neither affects adhesive performance, but both affect the thirty minutes of installation when you’re making irreversible decisions about placement.

Removable Means Lower Tack — and That Has Consequences

One product in this set explicitly advertises removability as a feature. That word tells you something specific about the adhesive formulation: it’s designed to release cleanly from the substrate when pulled, which means lower peel strength by design.

Lower peel strength is a feature for renters who need to restore a wall. It’s a liability for anyone who needs the tile to stay up for years in a kitchen. The same adhesive property that lets you peel the tile off without damaging paint also means the adhesive has less resistance to the slow, sustained shear that gravity applies every day.

This is a genuine trade-off, not a defect. A removable tile in a bathroom — warm, humid, vertical — is working against its own design intent. The adhesive was formulated to let go cleanly, and heat and moisture are helping it do exactly that, just on gravity’s schedule instead of yours.

If you want removability and longevity on the same wall, you’re asking for two things that pull the adhesive chemistry in opposite directions. Pick the one that matters more for your situation. In a rental kitchen where you’ll move in two years, removable makes sense. In a home you own and want to tile once, a stronger permanent bond — or real tile — is the honest answer.

Edges and Corners Fail First for a Second Reason

Owners consistently report that corner tiles and edge tiles detach before tiles in the center of an installation. Top-edge creep explains part of this, but corners face a second force: peel.

Shear and peel are different failure modes. Shear pulls the adhesive parallel to the wall — that’s what gravity does. Peel pulls the adhesive away from the wall at an angle, starting from a free edge. A tile in the middle of a field has its edges constrained by adjacent tiles, which resist peel. A tile at the corner of an installation has two free edges, and any slight lift — from thermal expansion, from a bump, from the natural spring-back of a stiff substrate — creates a peel front that propagates inward.

Thermal cycling makes this worse. A tile on a wall near a window or above a stove expands and contracts with daily temperature swings. Each expansion pushes the edges slightly outward. Each contraction pulls them slightly back. Over hundreds of cycles, the adhesive at the edges fatigues — not from sustained load, but from repeated small deformations. Center tiles experience the same temperature changes, but their edges are held by neighbors.

The practical fix is mechanical: press edges and corners with extra pressure during installation, and consider a bead of clear caulk along exposed top edges to resist the initial peel that starts the cascade.

FAQ

Why do peel-and-stick tiles always fall off from the top first?

The top edge bears the entire tile’s weight as downward shear. The adhesive — a polymer that flows slowly under constant stress — migrates away from the top over time, thinning the bond until it fails. The bottom edge is actually under compression from the tile’s own weight, so it’s the last place to let go.

Do kitchen heat and bathroom steam make adhesive tiles fall off faster?

Yes, through two separate mechanisms. Heat increases polymer chain mobility, roughly doubling creep rate for every 10°C rise. Humidity plasticizes the adhesive by letting water molecules slip between polymer chains, reducing the internal friction that holds the bond. A kitchen backsplash above a stove gets both at once.

Can you reposition a peel-and-stick tile after pressing it down?

It depends on the adhesive formulation. Products marketed as removable use a lower-tack adhesive that allows repositioning. Products with a permanent-bond adhesive — like those where owners report one chance to place them — deform on first contact and won’t re-bond cleanly. The trade-off is that repositionable adhesives have less resistance to long-term creep.

What kind of paint works best with peel-and-stick tiles?

Fully cured latex or acrylic paint with no silicone or fluoropolymer additives. Wait 30 days after painting before applying tiles — outgassing during cure creates a weak boundary layer. Clean the surface with isopropyl alcohol, not household cleaners, which leave surfactant residue that blocks molecular contact between the adhesive and the wall.

Should you add extra adhesive or caulk to the top edge of peel-and-stick tiles?

A bead of clear silicone caulk along the top edge resists the initial peel that starts the failure cascade. It doesn’t stop creep in the adhesive layer behind the tile, but it prevents the top edge from lifting — and once the edge lifts, the remaining bond area shrinks quickly. For tiles larger than a few inches in warm or humid rooms, it’s a reasonable precaution.